Tire Changing on a Flat Surface: A Comprehensive Guide
Changing a tire on a flat surface can seem like a daunting task, but with the right knowledge and tools, it can be a manageable and even empowering experience. Whether you're a seasoned driver or a new driver, knowing how to change a tire on a flat surface can help you feel more confident and prepared in the event of a flat tire.
Choosing the Right Location
When changing a tire, it's essential to choose a flat surface that's stable and free from obstacles. A flat surface provides a secure foundation for your vehicle, allowing you to work safely and efficiently. Avoid changing a tire on a slope, uneven surface, or near a drop-off. Instead, opt for a flat, solid surface, such as a parking lot, driveway, or a designated area away from traffic.
Parrking on a Flat Surface
When parking your vehicle on a flat surface, ensure it's away from traffic and on a solid surface. Use your hazard lights or flares to increase visibility, especially if you're changing a tire in a busy area. Engage your parking brake to secure the vehicle and prevent any accidental movement.
Tools and Equipment
Before starting the tire-changing process, gather the necessary tools and equipment, including:
- Spare tire
- Jack (to lift the vehicle)
- Lug wrench (to remove and tighten the nuts)
- Wheel wedges (optional, but safer)
- Bracing material (such as wood or bricks)
- Flashlight or reflective triangles
Step-by-Step Instructions
Follow these step-by-step instructions to change a tire on a flat surface:
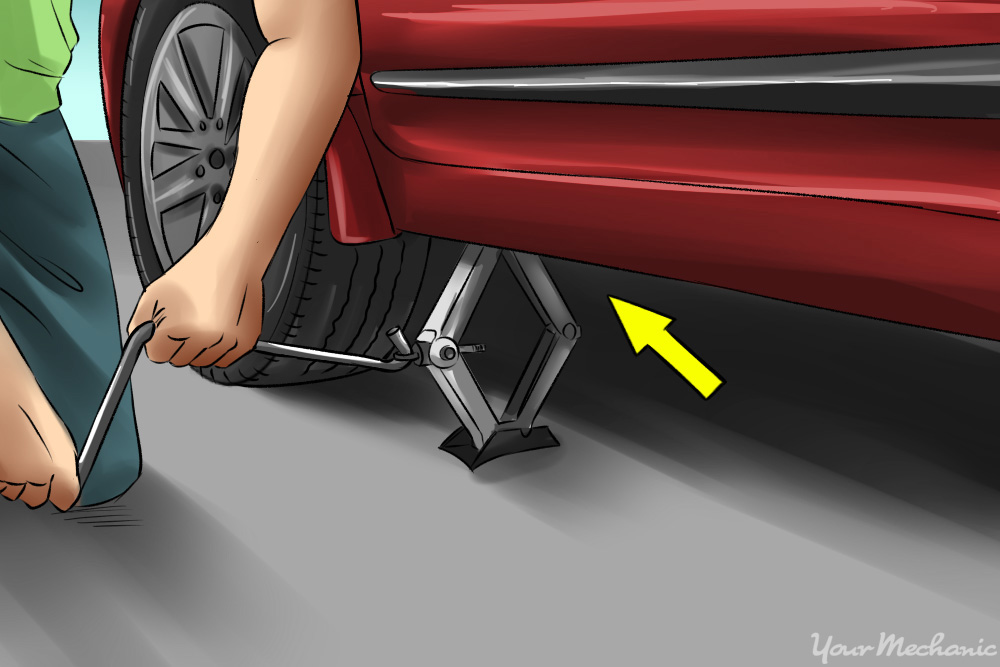
As we can see from the illustration, Tire Changing On A Flat Surface has many fascinating aspects to explore.
Step 1: Loosen the Lug Nuts
Before you jack up the vehicle, loosen the lug nuts on the flat tire using your lug wrench. Turn the lug nuts counterclockwise until they're loose, but don't remove them yet.
Step 2: Jack Up the Vehicle
Position the jack under the vehicle and raise it until the flat tire is off the ground. Make sure the jack is stable and sturdy to prevent any accidents.
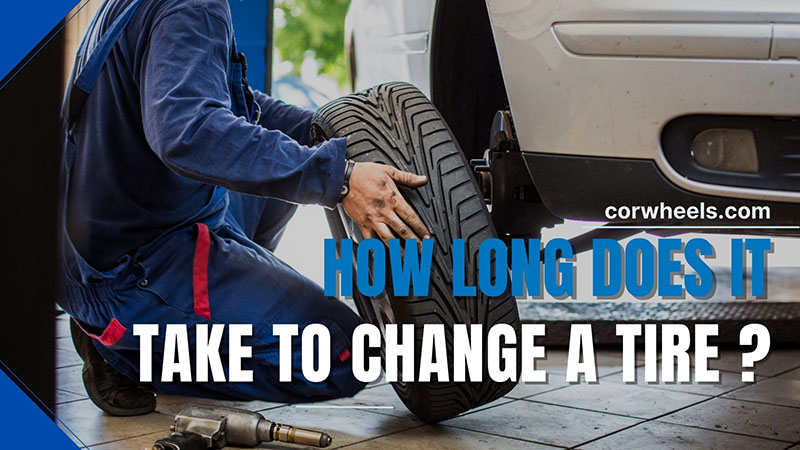
Step 3: Remove the Lug Nuts and Flat Tire
Now that the vehicle is raised, you can remove the lug nuts and flat tire. Place the lug nuts in a safe location where they won't get lost.
Step 4: Install the Spare Tire
Place the spare tire onto the wheel hub and hand-tighten the lug nuts. Make sure the tire is securely seated and the lug nuts are tightened evenly.
Step 5: Tighten the Lug Nuts
Lower the vehicle to the ground and use your lug wrench to tighten the lug nuts as much as possible.
Step 6: Check the Tire Pressure
Before getting back on the road, check the tire pressure of the spare tire and ensure it's at the recommended level.
Additional Tips and Safety Precautions
- Make sure the vehicle is on a stable and flat surface.
- Engage the parking brake to secure the vehicle.
- Use wheel wedges or bracing material to prevent the vehicle from rolling or slipping.
- Keep a flashlight or reflective triangles nearby to increase visibility.
- Never get under the vehicle while it's raised or jacked up.
Conclusion
Further Reading and Resources
For additional information and resources on tire changing, including step-by-step guides and videos, visit:
- AAA's Tire Changing Guide
- Consumer Reports' Tire Changing Tutorial
- Car and Driver's Tire Changing Guide
By staying informed and practicing safe tire-changing techniques, you'll be better equipped to handle unexpected situations and ensure your safety on the road.

 Day")


 Day")


 Day")


