Complete Guide to Zenith Sprinkler System Installation
Introduction to Zenith Sprinkler System Installation
Installing a Zenith sprinkler system is a great way to ensure that your lawn and garden receive the right amount of water at the right time. With a Zenith sprinkler system, you can say goodbye to manual watering and hello to a lush, green landscape. In this article, we will guide you through the steps involved in installing a Zenith sprinkler system, from planning to installation. Before we dive into the installation process, let's take a look at the benefits of Zenith sprinkler systems. These systems are designed to conserve water and save you time. With a Zenith sprinkler system, you can: * Water your lawn and garden automatically, even when you're not around * Save up to 50% of the water used by traditional irrigation systems * Enjoy a lush, green landscape all year round * Reduce your water bills and Save MoneyStep 1: Plan Your Zenith Sprinkler System
Before you start installing your Zenith sprinkler system, it's essential to plan it out carefully. Here are the steps involved in planning your system: * Determine the size and shape of your lawn and garden * Decide on the number of zones you need * Choose the right type of sprinkler heads for your system * Plan the route of your pipes and control manifold * Consider installing a flow meter and rain sensors to optimize your systemStep 2: Choose the Right Equipment
With your plan in place, it's time to choose the right equipment for your Zenith sprinkler system. Here are the essential components you'll need: * Sprinkler heads * Pipes and fittings * Control manifold * Flow meter * Rain sensors * Valve manifold * Shut-off valves * Electrical componentsStep 3: Dig Trenches and Lay Pipes
With your equipment ready, it's time to start digging trenches and laying pipes. Here are the steps involved: * Mark out the trenches for your pipes * Dig the trenches using a trenching shovel or excavator * Lay the pipes, making sure to connect them securely * Ensure the pipes are level and securely attached to the control manifoldStep 4: Install Sprinkler Heads and Connect Wires

As we can see from the illustration, Zenith Sprinkler System Installation has many fascinating aspects to explore.
With the pipes in place, it's time to install the sprinkler heads and connect the wires. Here are the steps involved: * Install the sprinkler heads, making sure they're securely attached to the pipes * Connect the wires to the sprinkler heads and control manifold * Test the system to ensure it's working correctlyStep 5: Install Valve Manifold and Shut-Off Valves
With the sprinkler heads in place, it's time to install the valve manifold and shut-off valves. Here are the steps involved: * Install the valve manifold, ensuring it's securely attached to the control manifold * Install the shut-off valves, making sure they're securely attached to the valve manifold * Test the system to ensure it's working correctly With the valve manifold and shut-off valves in place, it's time to install the electrical components. Here are the steps involved: * Install the timer or controller, ensuring it's securely attached to the control manifold * Connect the electrical components, making sure they're securely connected to the sprinkler heads and control manifold * Test the system to ensure it's working correctlyStep 7: Test the System
With all the components installed, it's time to test the system. Here are the steps involved: * Turn on the system and check for leaks * Test the sprinkler heads to ensure they're working correctly * Check the timer or controller to ensure it's working correctlyConclusion
Installing a Zenith sprinkler system is a complex process that requires careful planning and execution. With the steps outlined in this article, you'll be able to install a Zenith sprinkler system that will save you time and water, while keeping your lawn and garden looking its best.Additional Resources
* Zenith Sprinklers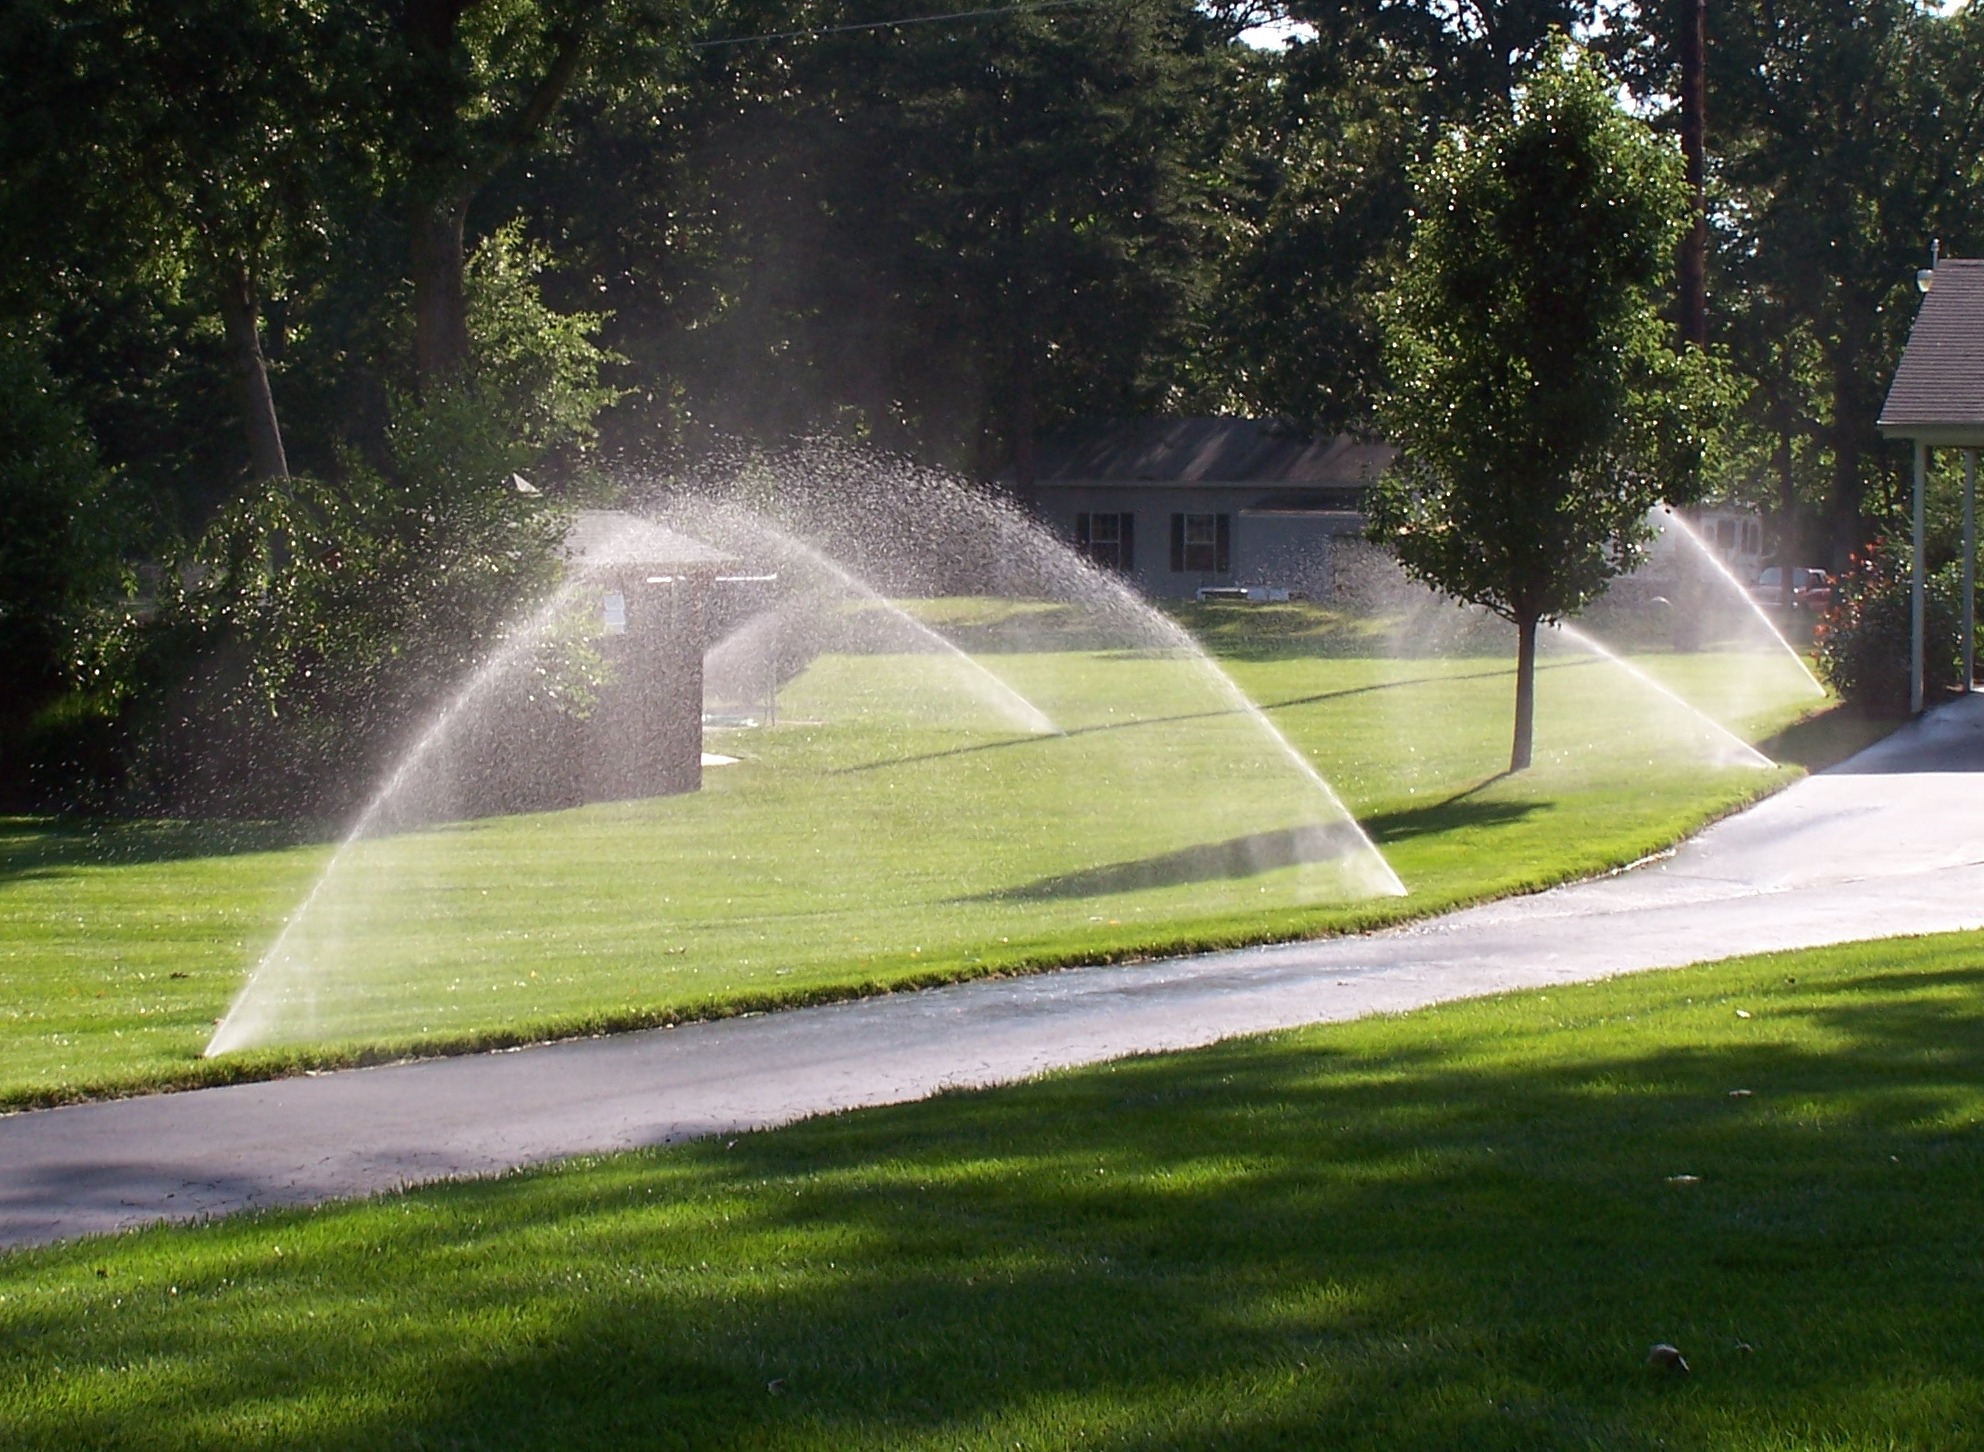


 - wikiHow")


! - YouTube")


