D-Link Router Setup with Wireless Network: A Comprehensive Guide
Introduction
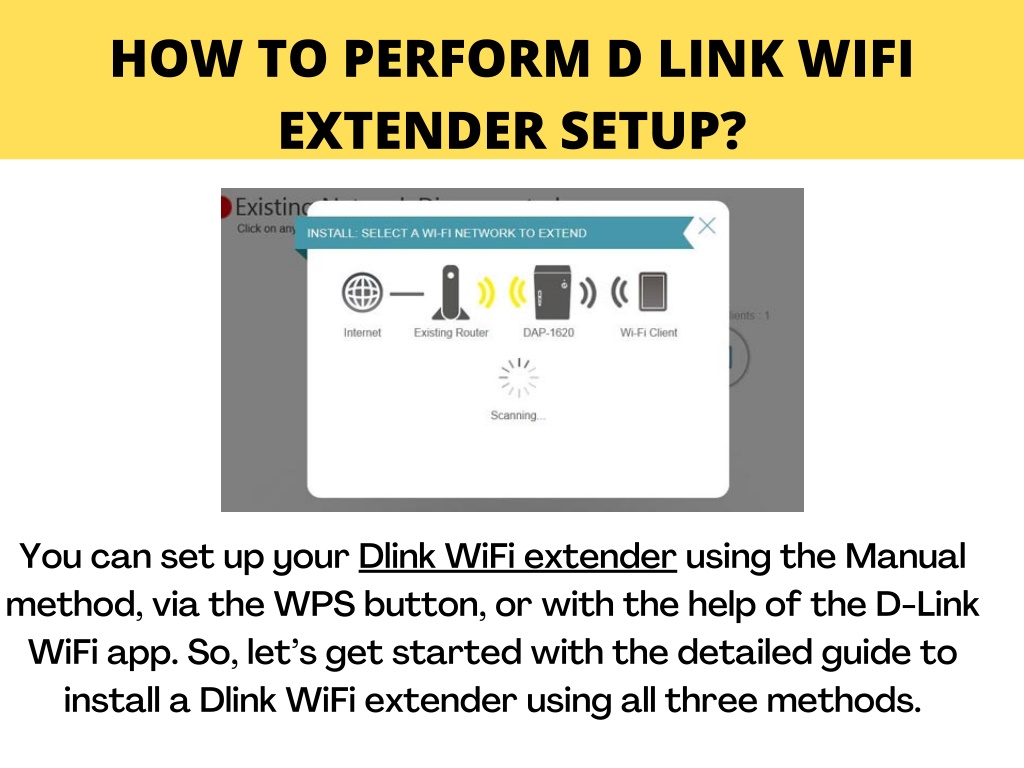
Setting up a wireless router is a crucial step in establishing a reliable and secure internet connection in your home or office. With a D-Link wireless router, you can enjoy seamless connectivity, fast internet speeds, and the ability to connect multiple devices to your network. In this guide, we will provide you with a comprehensive overview of the D-Link router setup process, including the steps to configure your wireless settings, optimize your network performance, and troubleshoot common issues.
Step 2: Power On Your Router and Modem
Step 3: Log In to Your Router's Web Interface
To configure your D-Link router, you will need to log in to its web interface. Open a web browser and type in the IP address of your router (usually 192.168.0.1 or 192.168.1.1). Enter the username and password to log in to your router's web interface. The default username and password are usually printed on the underside of your router or in the user manual.
Step 4: Configure Your Wireless Settings
Once you have logged in to your router's web interface, navigate to the Wireless Settings section. Here, you will be able to configure your wireless settings, including your network name (SSID), wireless channel, and security settings. Make sure to change the default SSID and password to secure your network.
Step 4.1: Change Your Network Name (SSID)
Step 4.2: Choose a Strong Password
Step 4.3: Configure Your Wireless Channel
Step 5: Configure Your Network Settings
Once you have configured your wireless settings, navigate to the Network Settings section to configure your network settings. Here, you will be able to configure your DHCP settings, configure your firewall, and set up your QoS (Quality of Service) settings.
Step 5.1: Configure Your DHCP Settings
Configure your DHCP settings to assign IP addresses to devices on your network. You can choose to assign IP addresses automatically or manually.
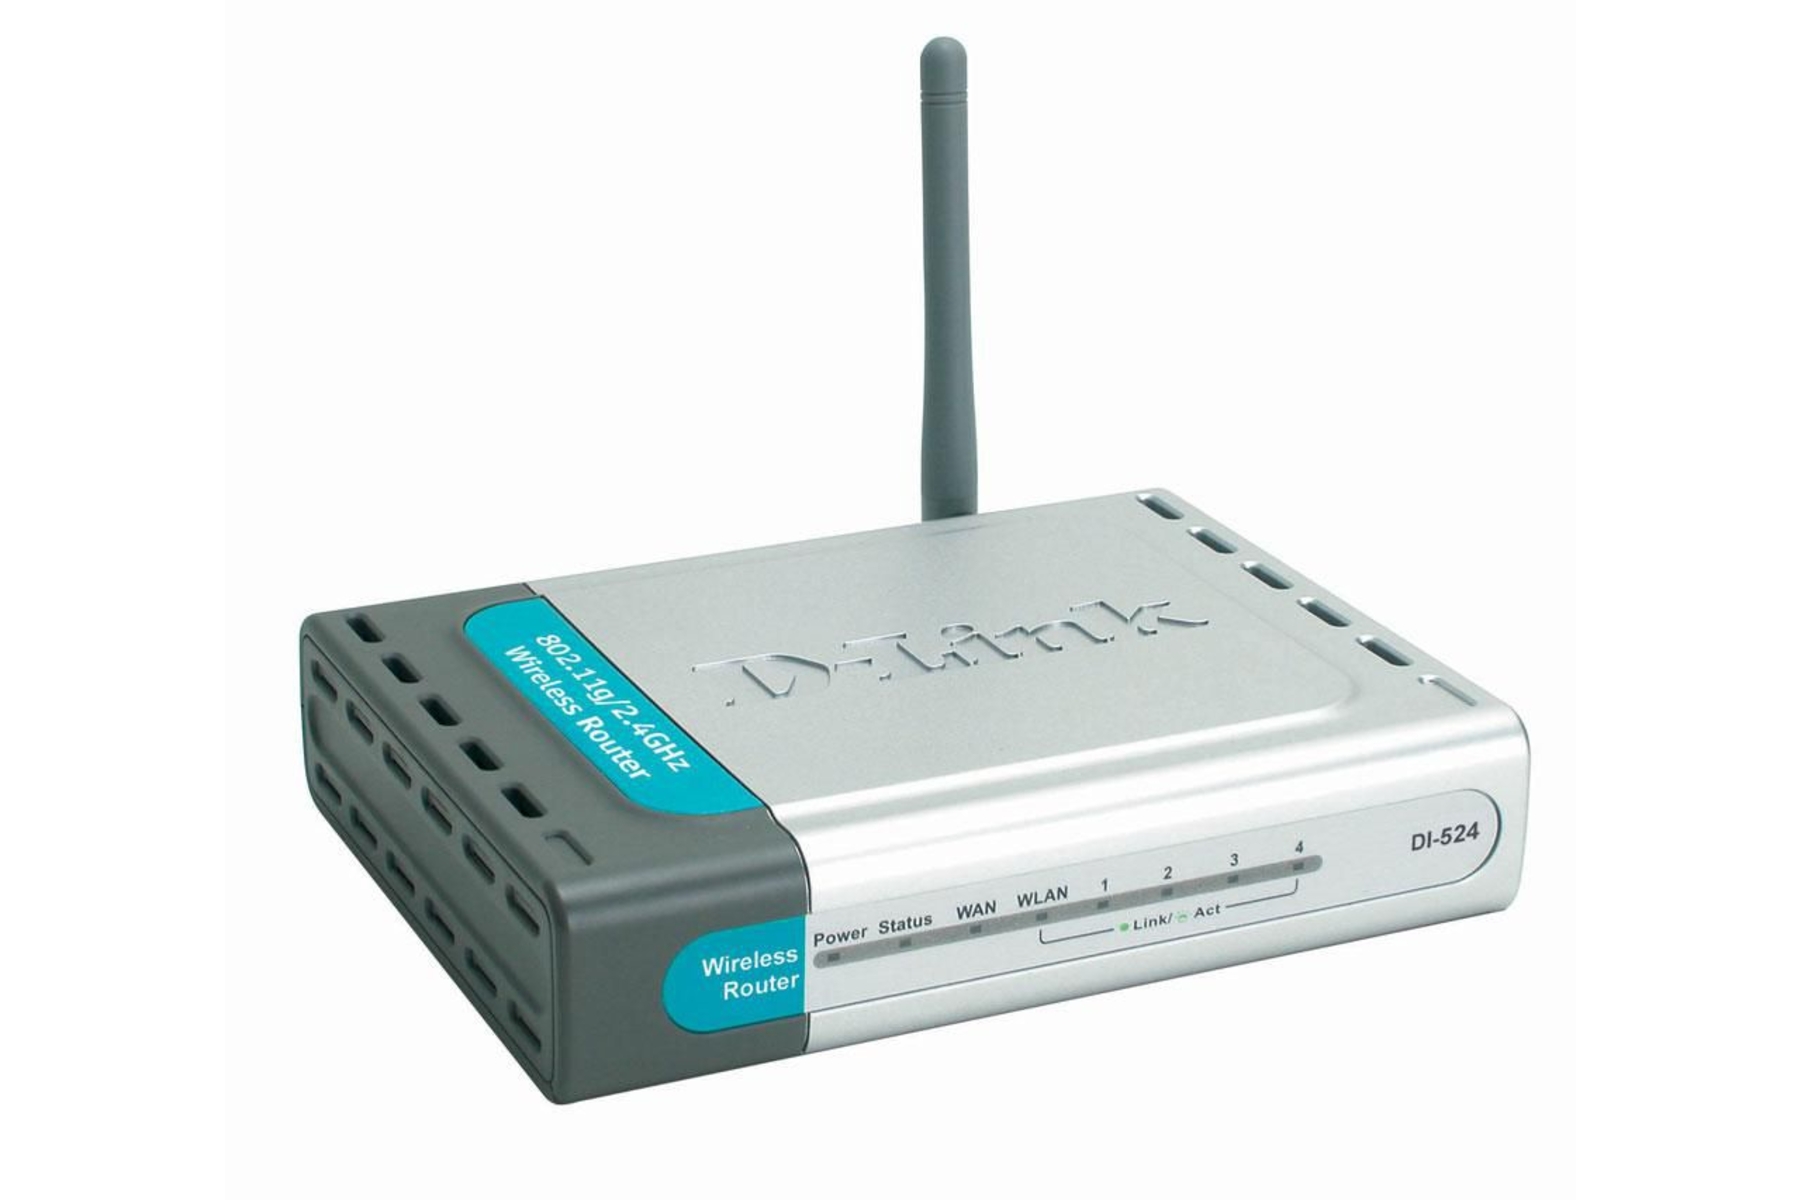
As we can see from the illustration, D-Link Router Setup With Wireless Network has many fascinating aspects to explore.
Configure your firewall to block incoming and outgoing traffic on your network. You can choose to block specific ports or allow traffic from specific IP addresses.
Step 5.3: Set Up Your QoS Settings
Step 6: Optimize Your Network Performance
Once you have configured your wireless settings and network settings, navigate to the Advanced Settings section to optimize your network performance. Here, you will be able to configure your wireless settings, configure your network settings, and set up your QoS settings.
Configure your wireless settings to optimize your network performance. You can choose to optimize your wireless settings for speed, range, or security.
Step 6.2: Configure Your Network Settings
Configure your network settings to optimize your network performance. You can choose to optimize your network settings for speed, range, or security.
Step 6.3: Set Up Your QoS Settings
Conclusion
Additional Tips
Here are some additional tips to help you get the most out of your D-Link router:
- Use a strong password for your wireless network.
- Configure your wireless settings to optimize your network performance.
- Set up your QoS settings to prioritize traffic on your network.
- Use a wireless channel analyzer to help you choose the best channel for your network.
- Configure your firewall to block incoming and outgoing traffic on your network.
- Set up your network settings to optimize your network performance.
Conclusion
By following the steps outlined in this guide, you can configure your D-Link router with a wireless network and optimize your network performance. Remember to always change the default SSID and password to secure your network, and to configure your wireless settings and network settings to optimize your network performance. With a D-Link router, you can enjoy seamless connectivity, fast internet speeds, and the ability to connect multiple devices to your network.


 - Dual Band Wireless ...")
![Picture of [Wireless Router] How do I enter my ASUS router's setting page using ...](https://5.imimg.com/data5/SELLER/Default/2023/2/CK/AG/MJ/136745670/dlink-wireless-router-dual-band-giga-dir-841-1200mbps-1000x1000.jpg "[Wireless Router] How do I enter my ASUS router's setting page using ...")


 - pepita.com")


