Macbook Pro Screen Repair Process: A Comprehensive Guide
The MacBook Pro screen repair process can be a complex and intimidating task, especially for those who are not familiar with electronics repair. However, with the right knowledge and tools, anyone can successfully repair their MacBook Pro screen.
Understanding the MacBook Pro Screen Repair Process
The MacBook Pro screen repair process involves several steps, including diagnosing the problem, preparing the device, and replacing the screen. Here's a step-by-step guide to help you understand the process:
- Diagnosing the Problem: The first step in the MacBook Pro screen repair process is to diagnose the problem. This involves identifying the type of screen damage and determining whether it is a hardware or software issue.
- Preparing the Device: Once the problem has been diagnosed, the next step is to prepare the device for repair. This includes grounding the device to prevent electrical shock and removing the battery and any other internal components.
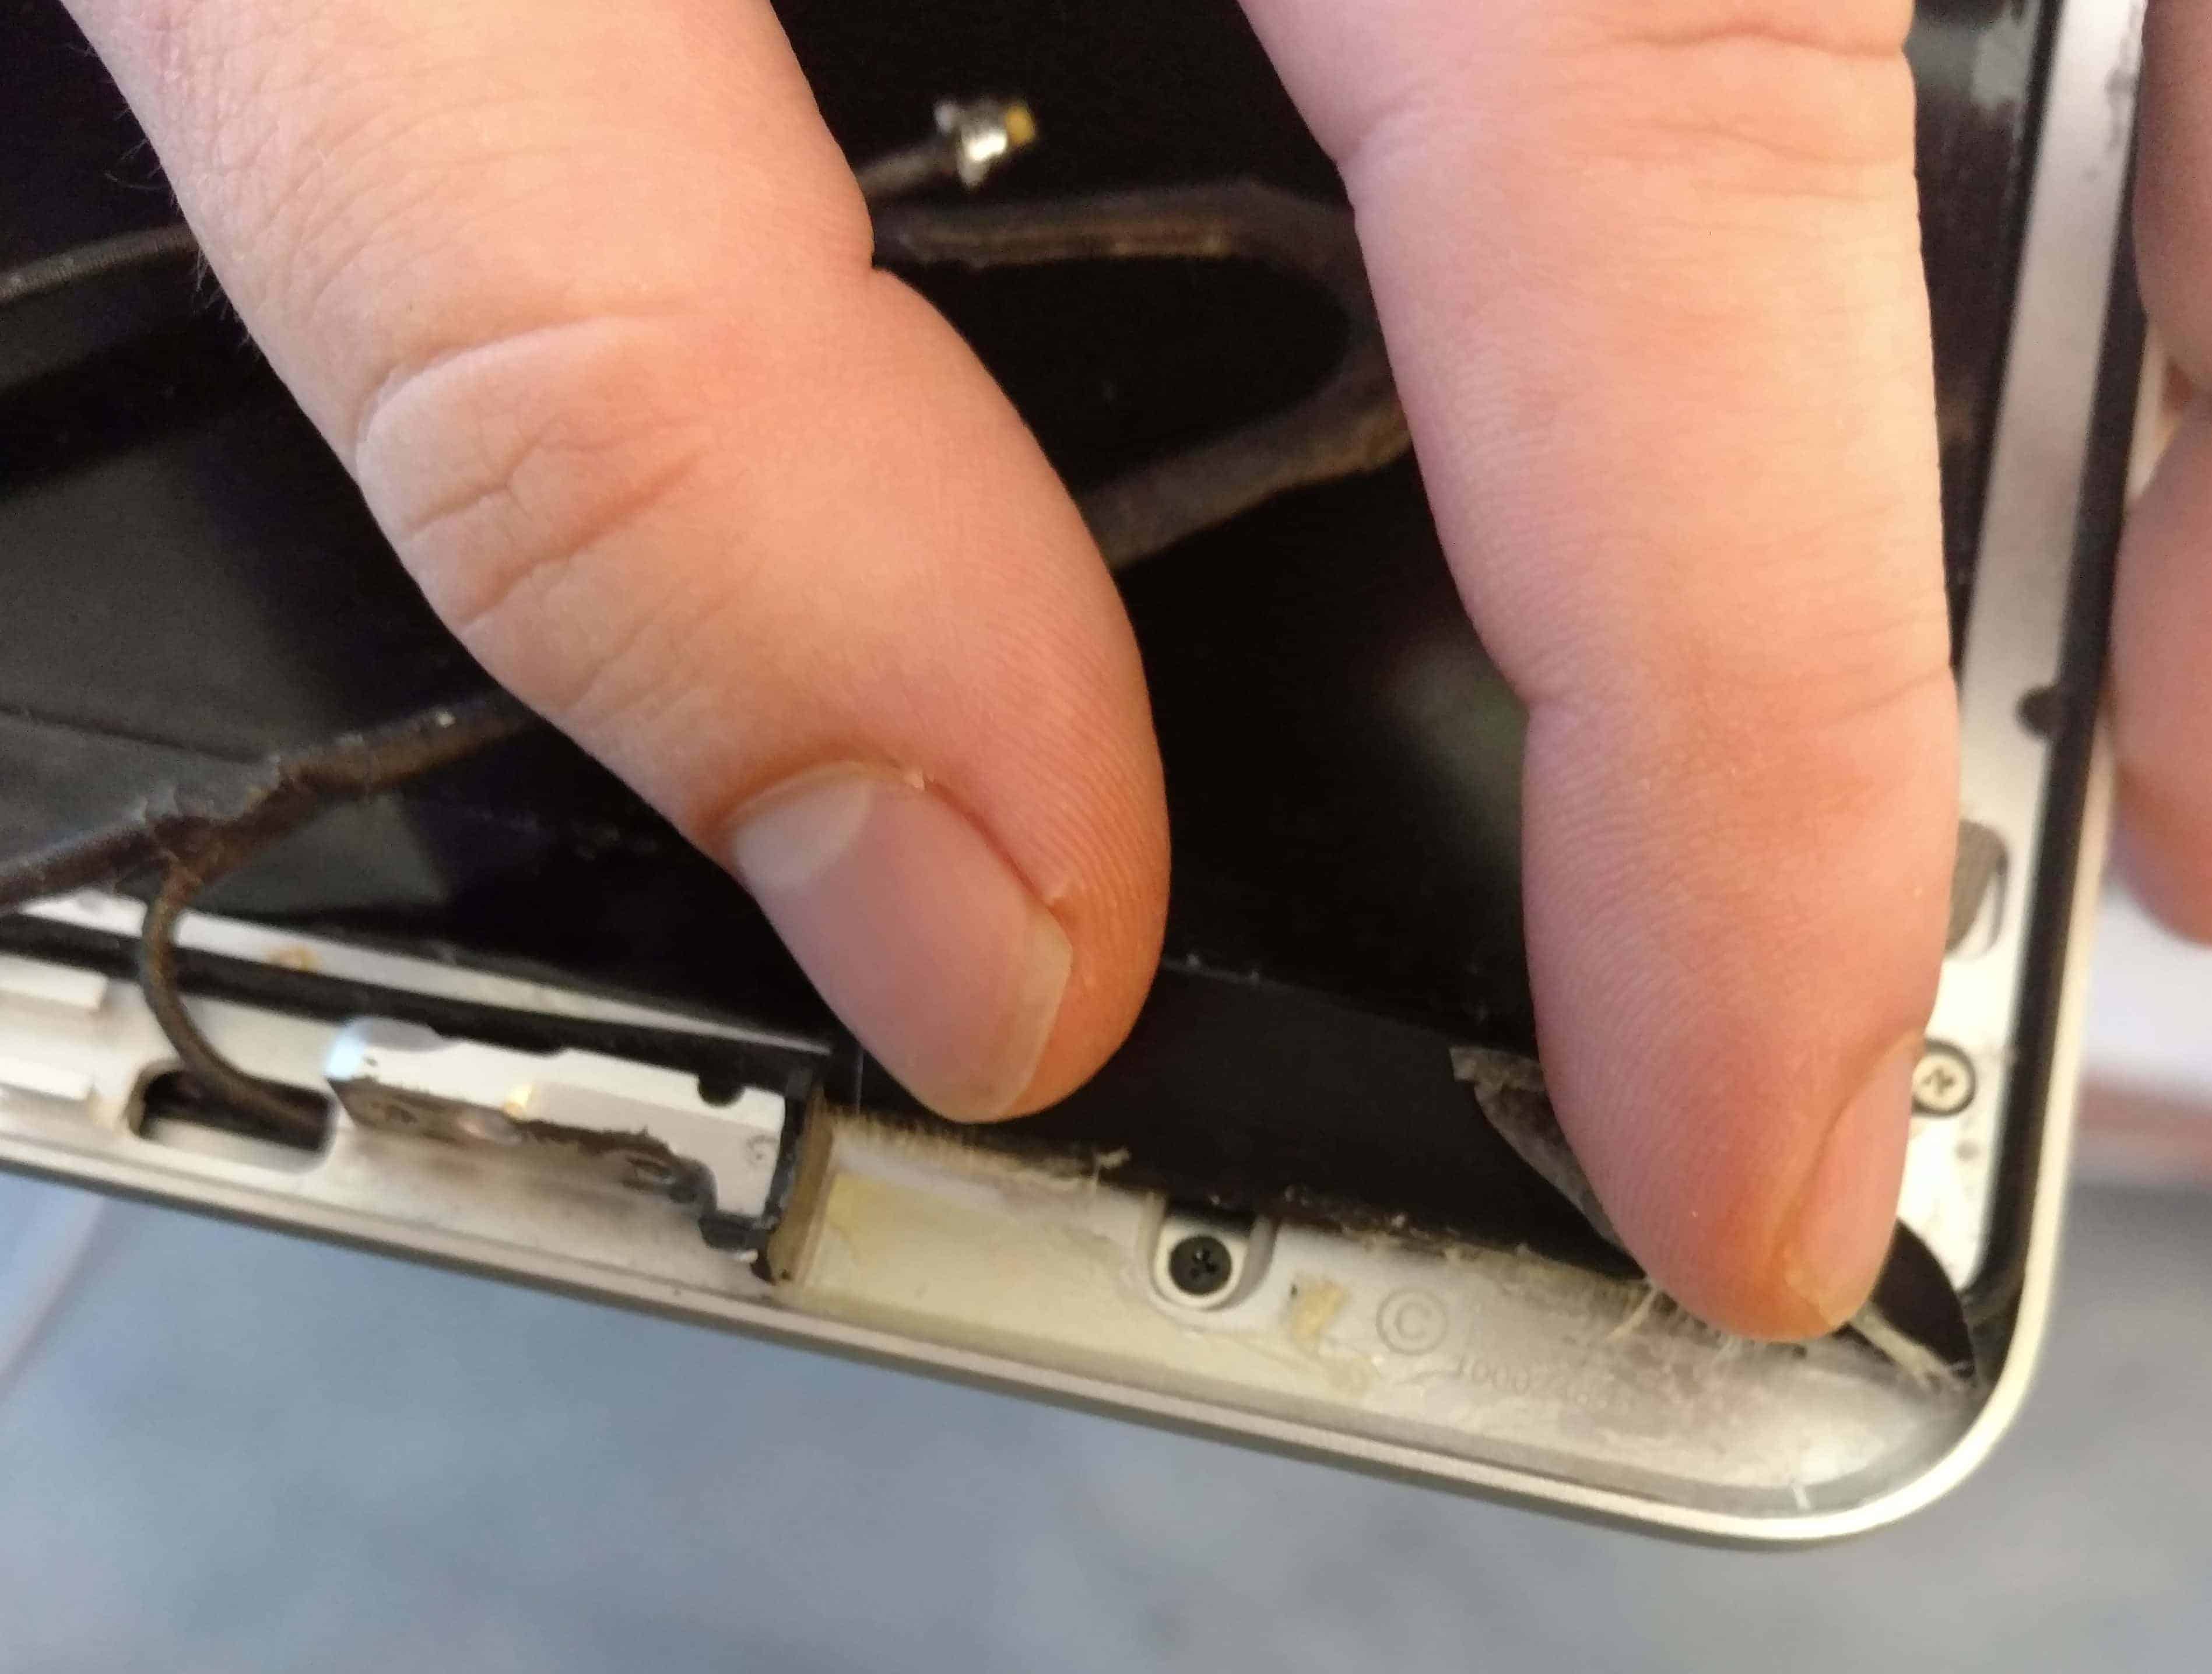
- Removing the Damaged Screen: The damaged screen is then removed, taking care not to damage any of the surrounding components, such as the display hinges or the display bezel.
- Installing the New Screen: The new screen is then installed, ensuring that it is properly secured and functioning correctly.
- Testing the Screen: The final step in the MacBook Pro screen repair process is to test the screen to ensure that it is working correctly.
Tools and Materials Needed
To repair a MacBook Pro screen, you will need a few specialized tools and materials, including:
- Suction cups: These are used to lift the display out of the device.
- Display brackets: These are used to secure the display in place.
- Display bezel removal tool: This is used to remove the display bezel.
- Screen cleaning solution: This is used to clean the new screen before installation.
- Adhesive strips: These are used to secure the new screen in place.
Step-by-Step Instructions
Here's a step-by-step guide to repairing a MacBook Pro screen:
Step 1: Prepare the Device
Ground the device to prevent electrical shock and remove the battery and any other internal components.
Step 2: Remove the Damaged Screen
Use a suction cup to lift the display out of the device and remove the display brackets and bezel.
Step 3: Clean the New Screen
Use a screen cleaning solution to clean the new screen before installation.
Step 4: Install the New Screen
Use adhesive strips to secure the new screen in place and ensure that it is properly connected to the device's logic board.
Step 5: Test the Screen
Test the screen to ensure that it is working correctly and adjust any settings as needed.
Conclusion
Repairing a MacBook Pro screen is a complex process that requires specialized tools and knowledge. However, with the right guidance and preparation, anyone can successfully repair their MacBook Pro screen. Remember to always follow proper safety protocols and take your time to ensure a successful repair.
Additional Resources
For more information on repairing a MacBook Pro screen, check out the following resources:
By following these steps and resources, you can successfully repair your MacBook Pro screen and get back to using your device in no time.


: 7 New Features Coming Later This Year")


![View of How to Do a MacBook Pro Screen Replacement [6 Steps] 2026](https://www.macscreenrepair.com/wp-content/uploads/2023/09/A2251-before-and-after.jpg "How to Do a MacBook Pro Screen Replacement [6 Steps] 2026")

